
SkalarkiIO Profiler is an Application to allow the communication between SKALARKI hardware and the aircraft or the simulation software. All SKALARKI hardware can be used ONLY via SkalarkiIO Profiler and the dedicated digitally signed USB driver. The registering SkalarkiIO Profiler is mandatory and it is free of charge for Home Users. Any commercial aplication is allowed only after purchasing the related Licence.
1. After downloading SkalarkiIO Profiler 5.1 run the installer.

Click "Next" to move to the next step.
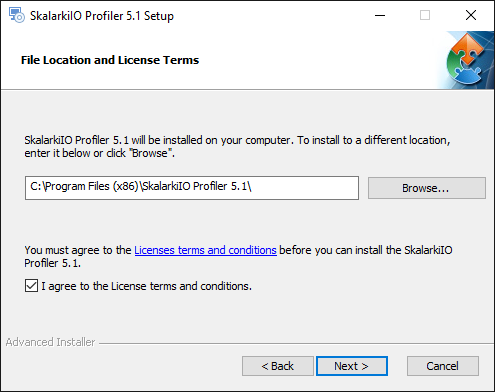
You need to accept terms and conditions, then click "Next" to move to the next step.

3. Choose FlightSim Labs component to install. Click on a small blue arrow to open the context menu and pick "Will be installed on local hard drive" option.

Click "Next" button to move to the next step:

If you want to change the default Profiler installation folder, it can be done in "Installation Folder" tab. We strongly recommend to keep Profiler in the default location. Once done, click "next"

4. Click "Install" to proceed with installation. Installer will install all the elements automatically.

When installation is completed, press "Finish" button.

There is no need to add or edit any files manually. Non of the files needs to be moved or copied to p3d folders.
There is only minimal configuration needed in SkalarkiIO Profiler Settings. If you have static IP address for your PC, then please change the default one to the static. If you use DHCP, then leave default settings.

If you use DESKTOPLine TQ Box, then in SDK Calibration tab you need to calibrate your hardware. Make sure TQ is connected and USB driver Installed. Then move Lever to the position and click on corresponding button to save lever value. Repeat the same procedure for each lever and each detent in TQ.


